
Would you like to make your own Easter decorations or are you still looking for ideas for gifts for your Easter visitors?
These super cute Easter bunny jar candles made from natural wax are the perfect DIY idea for the Easter season!

Easter bunny in a jar
You need:
- Rapeseed wax 5761 for the ears (alternatively rapeseed coconut wax 660-55M)
- Soy wax C-3, C-310 or C-1 (alternatively rapeseed coconut wax Elite 600)
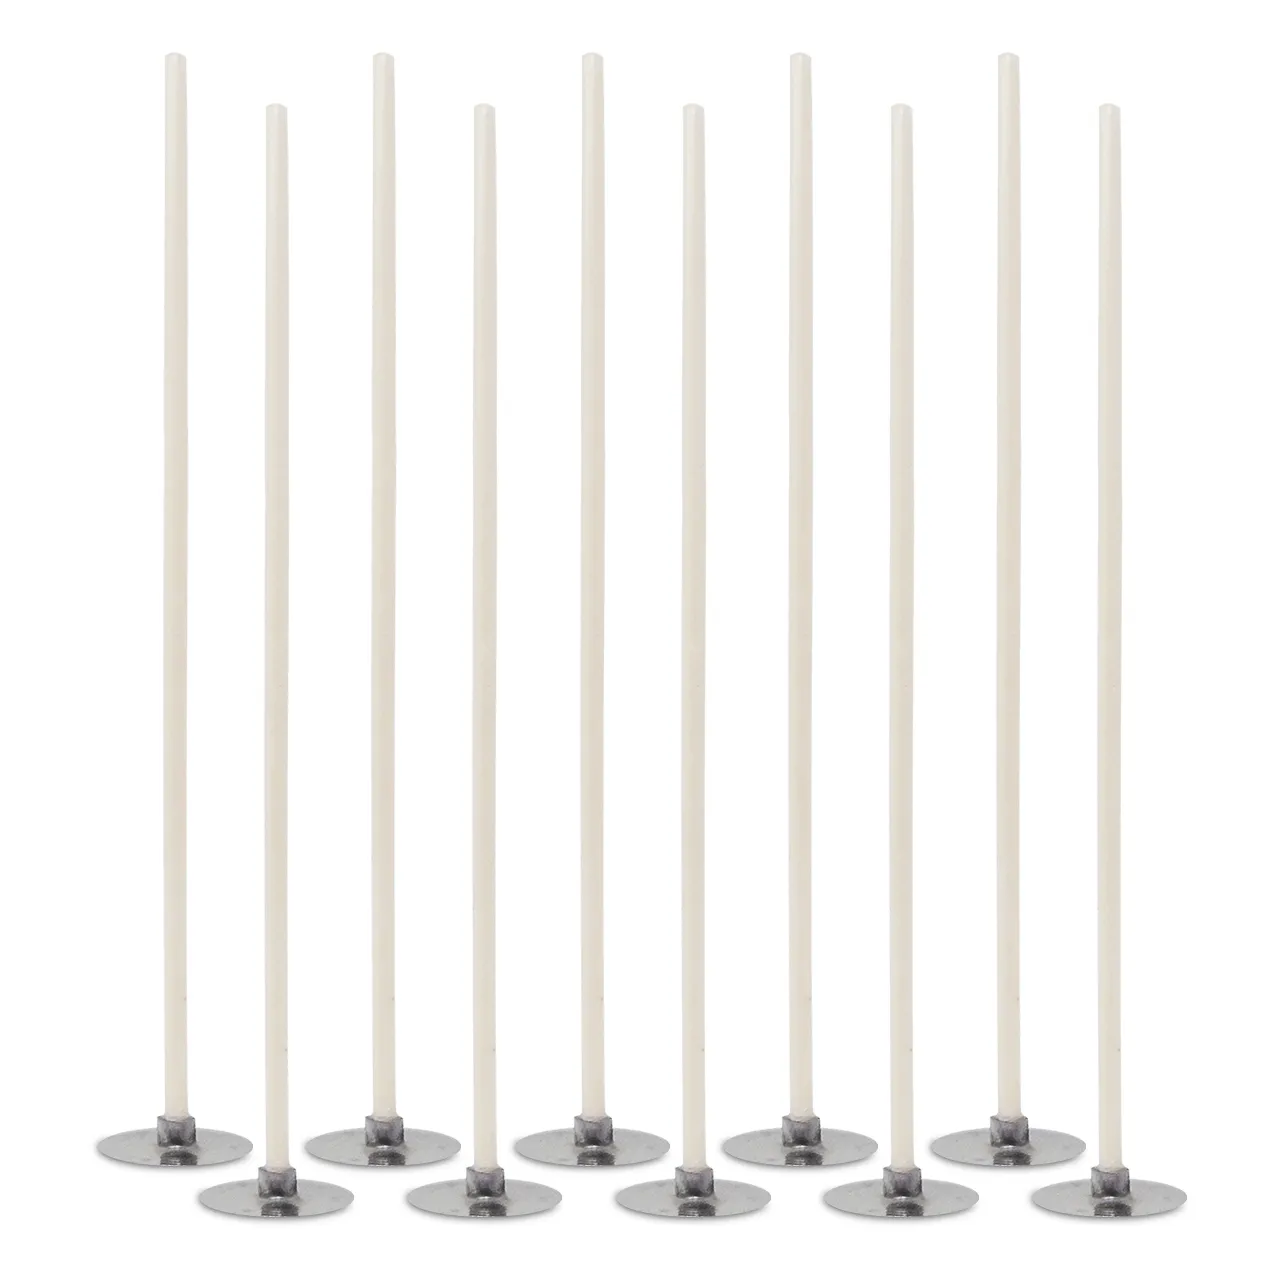
- BWR wick with base
- Wax adhesive tabs
- If desired, candle dye Brown or beige
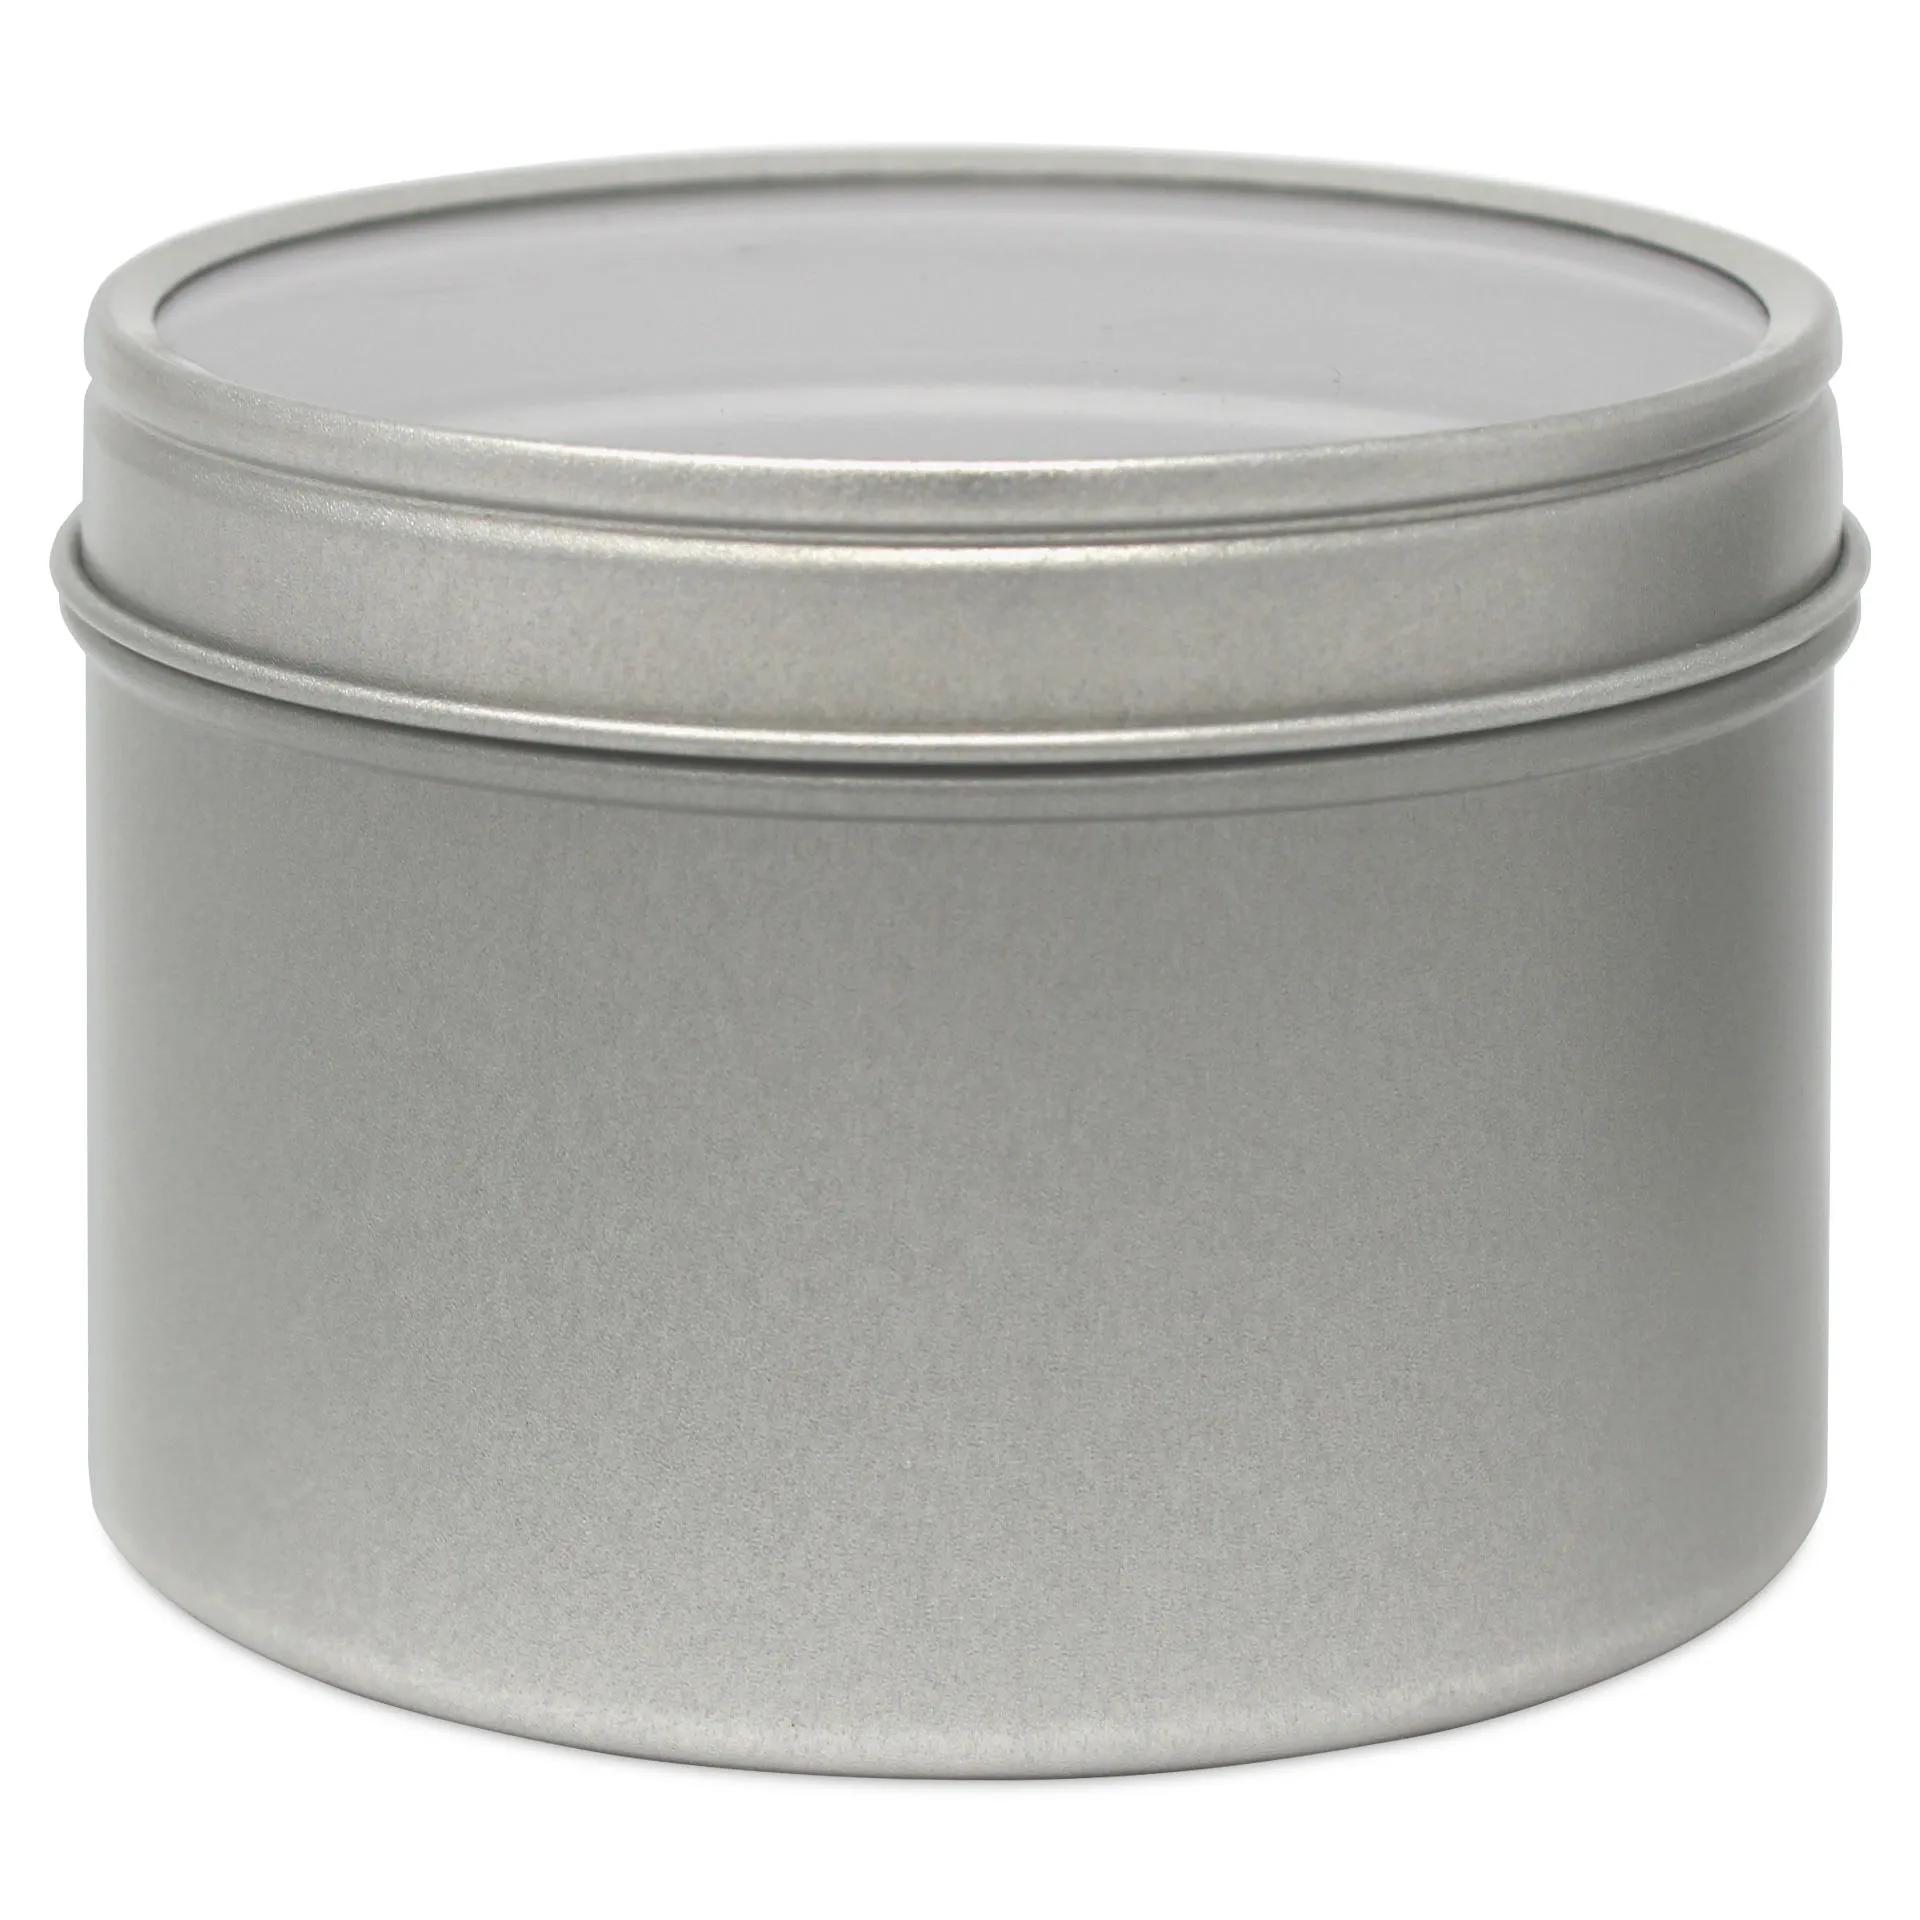
- Also: jars (you can also use our candle tins), bunny silicone mould, marker pen and everything needed for a water bath
1. Rapeseed wax
Melt the rapeseed wax at approx. 80°C in a water bath.
2. Preparing the jar
While the rapeseed wax is melting, you can draw your desired design on a sheet of paper and then place it inside the jar to trace it on the outside with a marker pen. We chose a bunny face and the text "Happy Easter".
Then attach the BWR wick to the bottom of the jar using wax adhesive tabs. Make sure that you do not block the bottom of the wick, but only work with the edge of the wick base.
Then place the silicone mould and the jars upside down on the radiator to preheat them.
3. Ears
Once the rapeseed wax has melted, allow it to cool slightly (to approx. 60°C). Then pour it into the silicone mould until the ears are filled. Allow everything to cool and harden at room temperature.
4. Soy wax
While the ears are hardening, melt the soy wax in a water bath at approx. 80°C as well. If you like, you can add colour or fragrance. Make sure to always colour the wax first before adding fragrance.
Once the wax is completely liquid, allow it to cool down to approx. 60°C. Then slowly pour it into the preheated jar. Leave enough space for the ears, so do not fill it completely. Also keep a small amount of soy wax aside for later. Centre the BWR wick with a wick holder (or other tools) and allow the jar candle to cool.
5. Inserting the ears
Once the ears have hardened, you can carefully remove them from the mould. When the soy wax has hardened, melt the surface with a hot air gun and pour in a little more wax.
When the wax starts to lose its transparency, insert the ears with the wick in the centre. You will probably need to hold them in place for a while so that they sit securely.
Then all you have to do is wait and your Easter bunny candles in a jar are finished.
You can also find this tutorial as a video on YouTube. There you will also find many more tutorials & product information!
We want to see your creations!
Take a photo, post it on Instagram and tag us @distrebution_gmbh.
If you have any questions, feel free to contact us by email at support@distrebution.com!

Content: 0.75 Kilogram (€10.65 / 1 Kilogram)

Content: 22.68 Kilogram (€5.86 / 1 Kilogram)

Content: 25 Kilogram (€7.19 / 1 Kilogram)

