

What you need:
- Brown candle jars
- Kerawax rapeseed wax 4170 (base)
- Rapeseed wax 5761 (succulents)
- Forest Green candle dye
- Antique Pink candle dye
- Brown candle dye
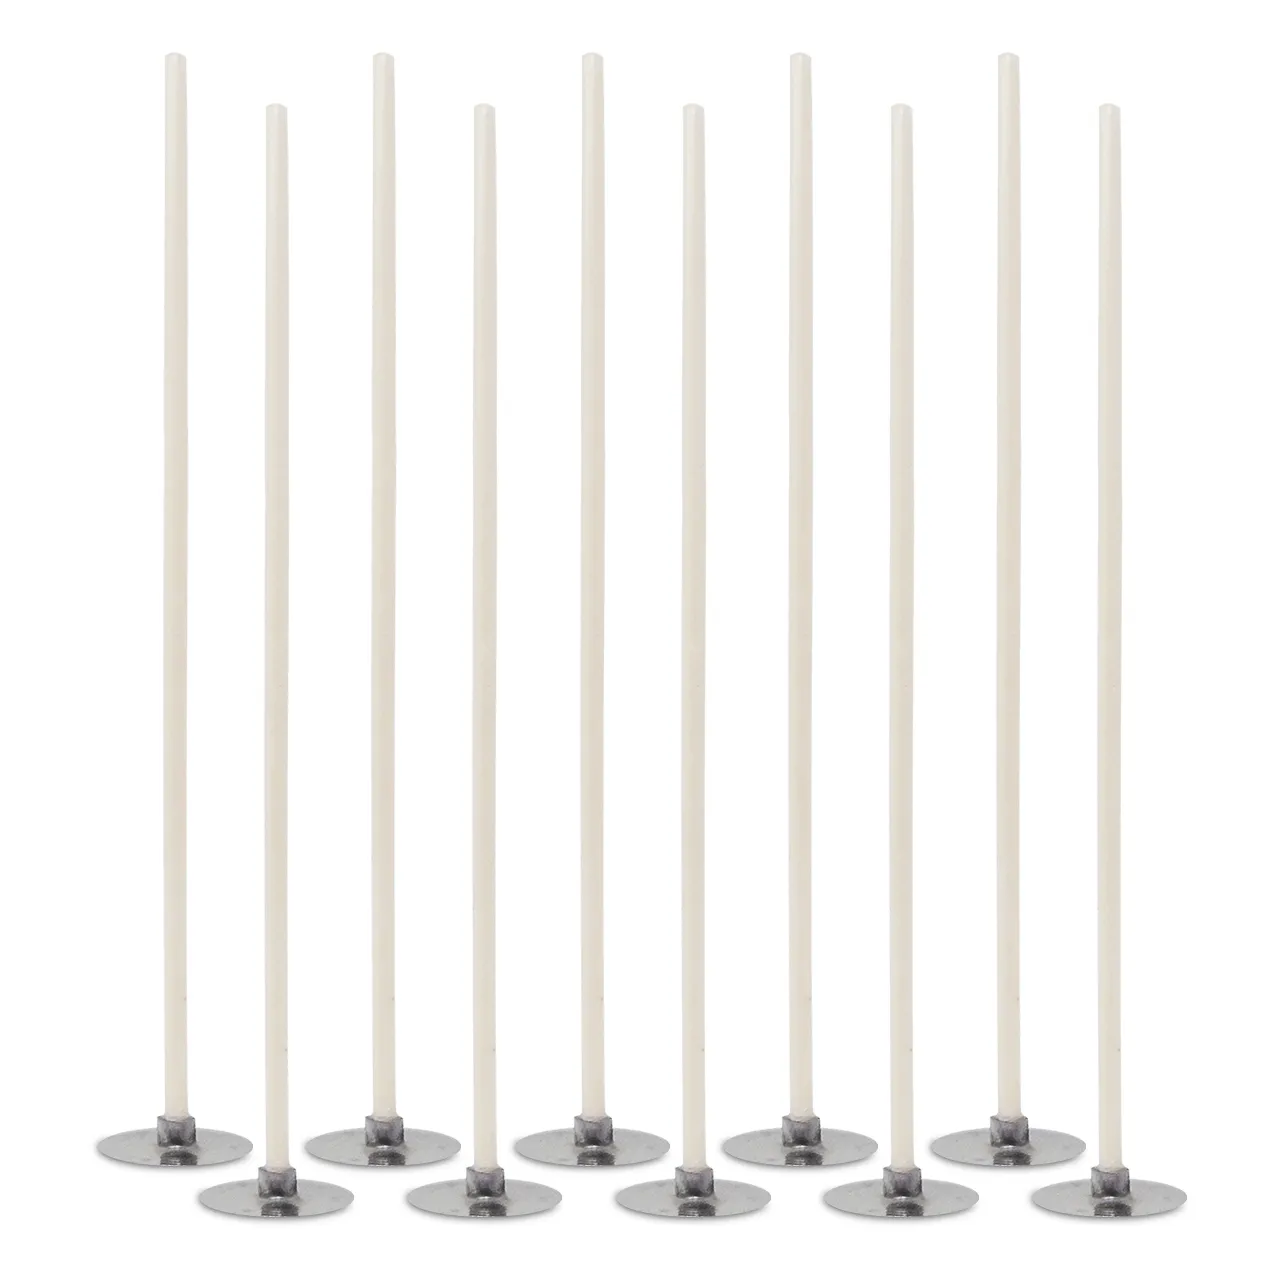
- BWR wick
- Wax adhesive tabs
Also: water bath, hot air gun, needle, knife/grater
1. Melting
Heat the Kerawax to a temperature of 70 to max. 90 °C. Stir regularly while melting, but do not stir too vigorously or quickly. The best way to do this is in a water bath. While the wax is melting, fix the wick using wax adhesive tabs and centre it with a wick holder.
2. Pouring the base
Allow the wax to cool down to approx. 50°C and meanwhile preheat the jars (e.g. with a hot air gun or simply on the radiator). Then slowly pour the Kerawax into the jars until they are half full.
Our wax colours are also very suitable for mixing!
3. Brown wax for the soil
Add our brown candle dye to the remaining liquid Kerawax. Once the colour has completely dissolved, pour thin layers of wax. We used soap silicone moulds for this.
4. Rapeseed wax 5761 - succulents
While the base in the jars and the brown wax are hardening, melt a small amount of rapeseed wax 5761 in a water bath. Once the wax is liquid, you can add colour as desired. You can also start by adding only a small amount of wax dye for a light shade, pour a few succulents, and then add more colour for different shades of green. Before pouring, preheat the silicone moulds with a hot air gun.
5. Preparing the "soil"
Once the brown wax has hardened, you can grate it with a grater or chop it with a knife so that it looks like soil in the finished candle.
6. Demoulding the succulents & assembling the candle
Once the succulents have completely hardened, you can carefully remove them from the moulds. Melt the base wax slightly with a hot air gun and then spread the brown wax on top. Next, place the succulents temporarily to test the arrangement, then briefly melt the underside of each one with the hot air gun and place them onto the soil and press them down firmly. We threaded one succulent through the wick because it was almost as large as the glass diameter. To do this, carefully pierce a hole through the centre with a hot needle, melt the underside, then thread the succulent onto the wick, place it on the soil and press it down firmly.
7. Give as a gift or light it
These homemade candles are a wonderful way to easily make someone happy, or you can light them yourself and enjoy them.
The tutorial is also available as a practical PDF for download here.
You can find a video tutorial for this guide here:
We want to see your creations!
Take a photo, post it on Instagram and tag us @distrebution_gmbh.
If you have any questions, feel free to contact us by email at support@distrebution.com!

Content: 20 Kilogram (€7.49 / 1 Kilogram)

Content: 25 Kilogram (€7.19 / 1 Kilogram)

Content: 0.01 Kilogram (€649.00 / 1 Kilogram)


Content: 24 Pieces (€0.96 / 1 Pieces)
