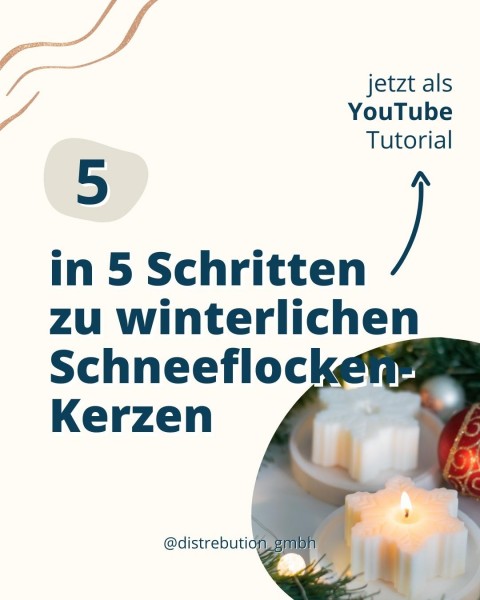
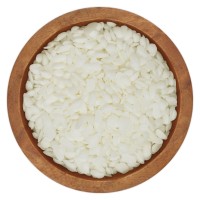
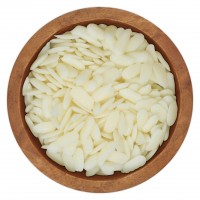
Today we show and explain how you can easily cast your own snowflake candles at home. We use our rape coconut wax 660-55M, which is a 100% pure natural wax.
Get everything you need for your candle making ready:
- Rapeseed/Coconut wax blend 660-55M
- BWR wick (we use the BWR 4 in the video)
You will also need:
- Water bath/ simmer pot
- thermometer
- something to stir
- candle molds (we use silicone molds in this one)
- wick holder
- sewing needle
1. Melting
First, melt the rapeseed coconut wax in a water bath or simmer pot. To do this, heat the wax to 60 to max 80°C. While melting, stir regularly and slowly. Be careful not to heat the wax too fast or too hot. Also, make sure that no water gets into the liquid wax!
While the wax is melting, you can preheat the molds on a heater and prepare the wicks.
2. Prep the wicks
To do this, cut the BWR wick on a roll and be sure to pay attention to the running direction of the wick! We make a knot on the lower side / the rear end of the wick, so that we still know the running direction later. This is important so that the candle can burn properly.
To pre-wax the wicks, simply dip the blanks into the liquid wax until no more air bubbles are visible. Then lay the wick straight down and wait a short time until it is dry.
3. Prep the molds
Once the wicks are dry, you can prepare the molds.
To do this, carefully pierce the wick through the silicone mold with the sewing needle. To ensure that no wax leaks out, you can stick the wick opening from the outside with our adhesive wax plates.
You can now place the molds back on a heater to further preheat them until casting.
4. Pouring
Slowly reduce the temperature to approx. 60-65°C. Here it is best to use a thermometer for control. The environment and molds should not be too cold and the wax should not be too hot.
Do not pour the wax in too quickly. It is easy to get rid of air bubbles by tapping the mold lightly on the base in between. To stabilize the wicks as they cool, center them with a wick holder (you can also use a fork, toothpick, bobby pin,...).
5. Cooling & unmolding
The candles are best left to harden for 12 hours at room temperature. The very best is on a cooling grid with sufficient distance from each other. When the candles are completely cool, carefully remove them from the mold. You can smooth the bottom of the candle with a soap plane.
6. Gift it or light it
With the homemade winter candles can be super easy to give others a joy or you light them for yourself for your own pleasure. As a decoration they make natural also a lot if you do not like to light them! (:


