
No marbled pattern is ever the same, and that is exactly what makes this technique so fascinating. In dip marbling, candle dye is melted on the surface of hot water and transferred onto the candle as a thin film when it is dipped. This guide explains how to marble candles, what to pay attention to, and which mistakes can be avoided from the beginning.
At a Glance
- Candle dye melts on water heated to approx. 80 °C and forms a thin colour film on the water surface
- When the candle is dipped, this film is transferred directly onto the candle surface
- This guide is suitable for smooth candles made from rapeseed wax or paraffin wax
- Every candle is unique. No pattern can be reproduced exactly
What You Need
Before you start, prepare the following items:
- Rapeseed wax candles 5761 or Paraffin 58/60
- Candle dyes
- A sufficiently deep pot or heat-resistant container
- A thermometer for temperature control
- Disposable gloves
- Optional: string for attaching to the wick
- A place to hang the candles or baking paper for drying
- A wooden stick for stirring
- A washable work surface
Step-by-Step Guide to Marbling Candles
Once all materials are prepared, you can get started.
1. Prepare Your Workspace
Cover your workspace with a washable surface and put on disposable gloves. Attach a piece of string to the wick of each candle. You can use this to hang the candles after dipping so they can dry evenly. Place baking paper underneath to catch any excess dye that drips off. The container should be deep enough to fully submerge the candle. Use a container that will no longer be used for food, as colour residues can be difficult to remove completely depending on the material.
2. Heat the Water
Heat the water to approx. 80 °C, but do not let it boil. At this temperature, the candle dye melts properly and spreads into an even film on the water surface. If the water is too cold, the dye will not melt completely. If the temperature is too high, the candle surface may become cloudy or slightly deform.
3. Add Candle Dye
Add only a few pastilles to the water. Our candle dyes are highly concentrated and very economical. Wait until the pastilles begin to melt, then gently stir with a wooden stick. This spreads the colour into a very thin film, which creates the marbled pattern when the candle is dipped.
Pro Tip: Two-Colour Effects
For high-contrast patterns, it is recommended to work with two separate colour baths: dip the candle first in colour A and allow it to cool briefly, then dip it in colour B. This keeps each colour bright and defined. If both colours are added to the water at the same time, you need to work quickly. The colours mix rapidly while liquid, making a cloudy or muddy result difficult to avoid.
A colour bath can be used for several dipping processes as long as the colour film on the surface is still visible. After several candles, the colour film becomes thinner and the pattern becomes weaker. Simply add a few more pastilles. Since the water cools over time, check the temperature regularly and reheat if necessary. Replace the water once the colour becomes cloudy or settles at the bottom.
4. Dip the Candle
Hold the candle by the wick and slowly guide it through the colour film on the water surface. Slightly rotate the candle around its own axis while dipping in or pulling it out. This allows the colour film to wrap around the candle in a spiral pattern. You can also dip only the lower half or one side of the candle.
5. Allow to Dry
Hang the marbled candles up or place them on baking paper. Allow them to dry completely at room temperature. Depending on the amount of colour applied, drying takes around 2–4 hours. Do not dry the candles near heat sources, as heat can damage the colour layer.


Common Mistakes – and How to Avoid Them
-
The colours mix completely: The dye was stirred too much or the candle was dipped too late. Dip shortly after the dye has melted and only stir minimally.
-
The marbled effect is barely visible: Too little colour was used or the water was too cold. Check the temperature and add more pastilles if necessary.
-
The candle becomes deformed: The water was too hot. Check the temperature with a thermometer.
-
The pattern looks uneven: The colour was not fully melted or the water was moving. Wait until the dye has completely melted, then dip the candle slowly and steadily.
-
The colour does not adhere evenly: The candle surface was greasy, damp, dusty or touched by hands. Do not touch the candles before dipping and store them in a dry, clean place.
Frequently Asked Questions About Marbling Candles
How can you marble candles?
The easiest method is dip marbling using a water bath. Candle dye melts on the surface of the water and transfers directly onto the candle as a thin film when dipped. Particularly clean results can be achieved with smooth candles made from rapeseed wax or paraffin wax.
Which marbling dye is suitable for candles?
For dip marbling, we recommend highly concentrated candle dyes in pastille form. These melt cleanly in a water bath, spread evenly as a colour film and adhere well to the wax surface. Only a few pastilles are needed for several dipping processes. You can find an overview of all available colours in our candle dye category.
How can I colour candles – are there alternatives to marbling?
Dip marbling only changes the surface of the candle. If you want to colour candles completely and evenly, add the candle dye directly to the melted wax. Another alternative is the Dip-Dye technique, which creates clearly defined colour bands instead of organic marbled patterns.
Conclusion: Marbling Candles Is Easy to Do
Marbling candles is a simple and effective way to customise plain candles. With the right temperature, high-quality candle dye and a little creativity, unique designs can be created.
Different colour combinations allow you to create seasonal designs, collections or individual candle series. All products you need for this tutorial – from candle dyes and rapeseed wax to paraffin wax – can be found in our shop.
We also provide this tutorial as a PDF download.
Show us your results on Instagram and tag @distrebution_gmbh. We look forward to seeing your creations.


Content: 0.01 Kilogram (€549.00 / 1 Kilogram)


Content: 25 Kilogram (€7.19 / 1 Kilogram)
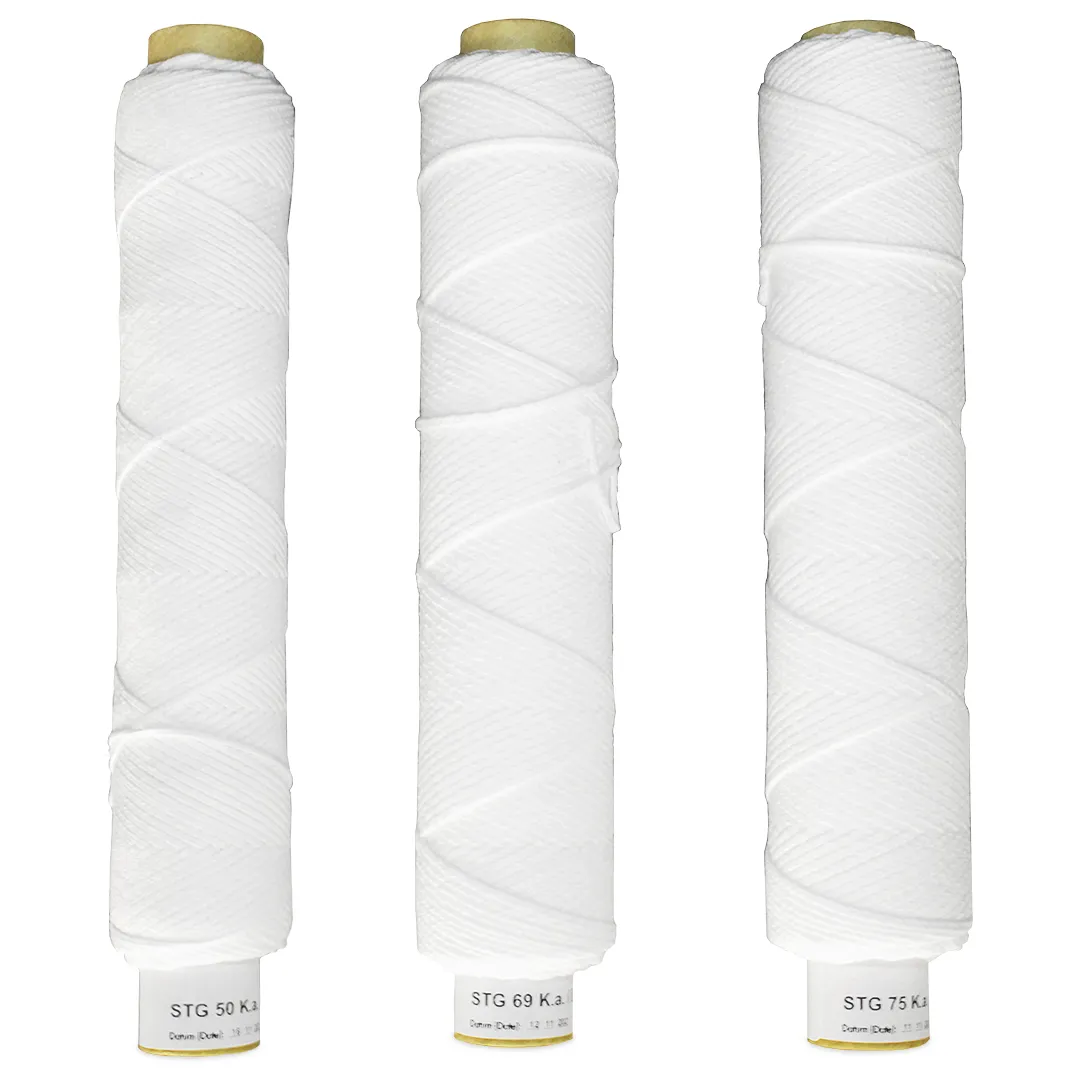
Content: 100 Running metre (€0.15 / 1 Running metre)
